Behind the Scenes of Patterns
In early 2013, during the planning of Sotare‘s rebirth, I knew I wanted to make a new version of one of the old shirts. I always liked “Patterns”, and it was the most popular shirt from the original line. In fact, the original idea was to release Patterns as a preview for four shirts, each shirt displaying one of the four patterns used. Those shirts were never made, and I thought Patterns would be a perfect shirt to re-release with the rebirth of the project.
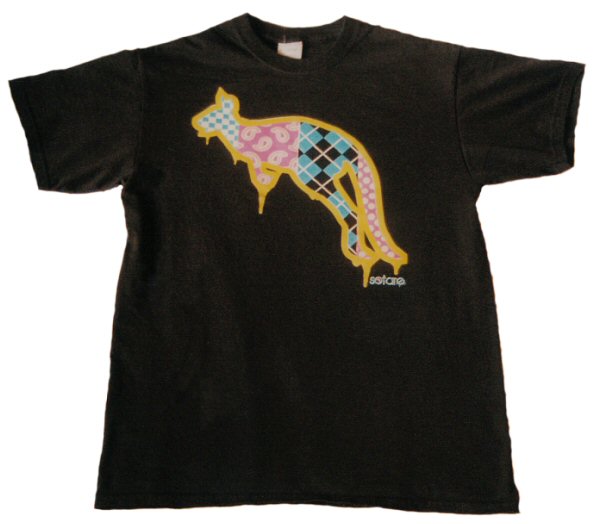
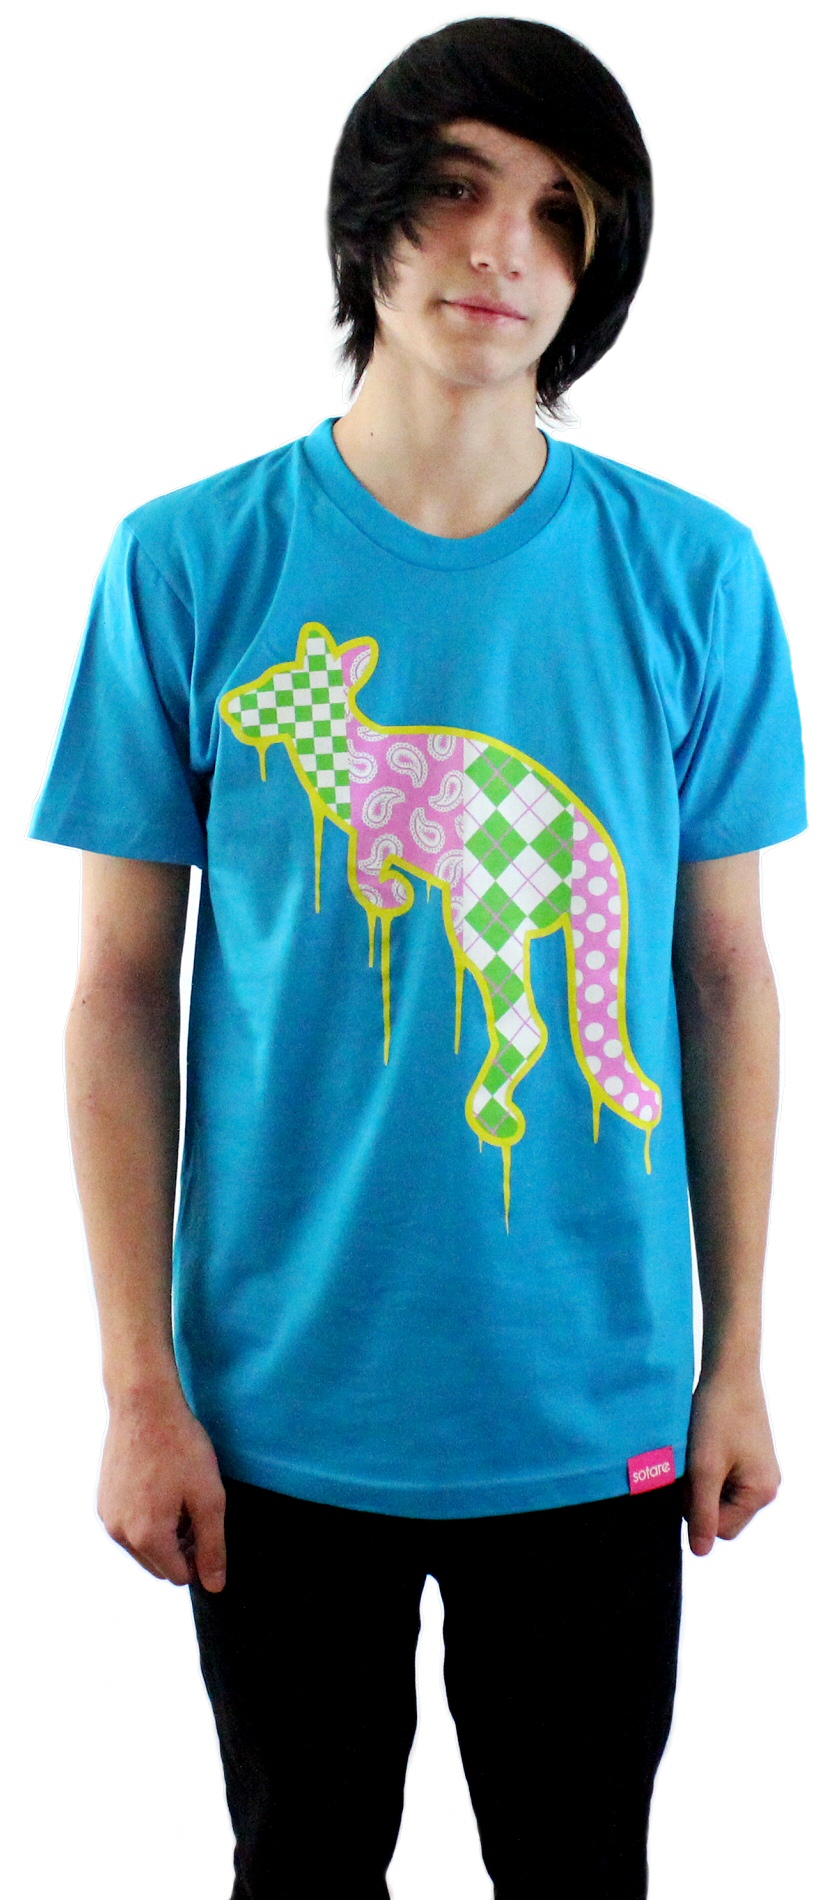
Part of what makes this different than the old version is the updated Leaping Kangaroo logo. The design also needed to be bigger on the shirt than before, so the logo was tilted slightly to the right. Instead of being printed onto a black shirt, I wanted the shirt to be printed on a teal cloth because, well, I love blue shirts!
The design process was fairly simple. I usually start with a scratch design, one that is smaller scale. I do this so that both I and my computer can move faster. Once satisfied with the design, I will recreate it at full scale and in higher resolution.
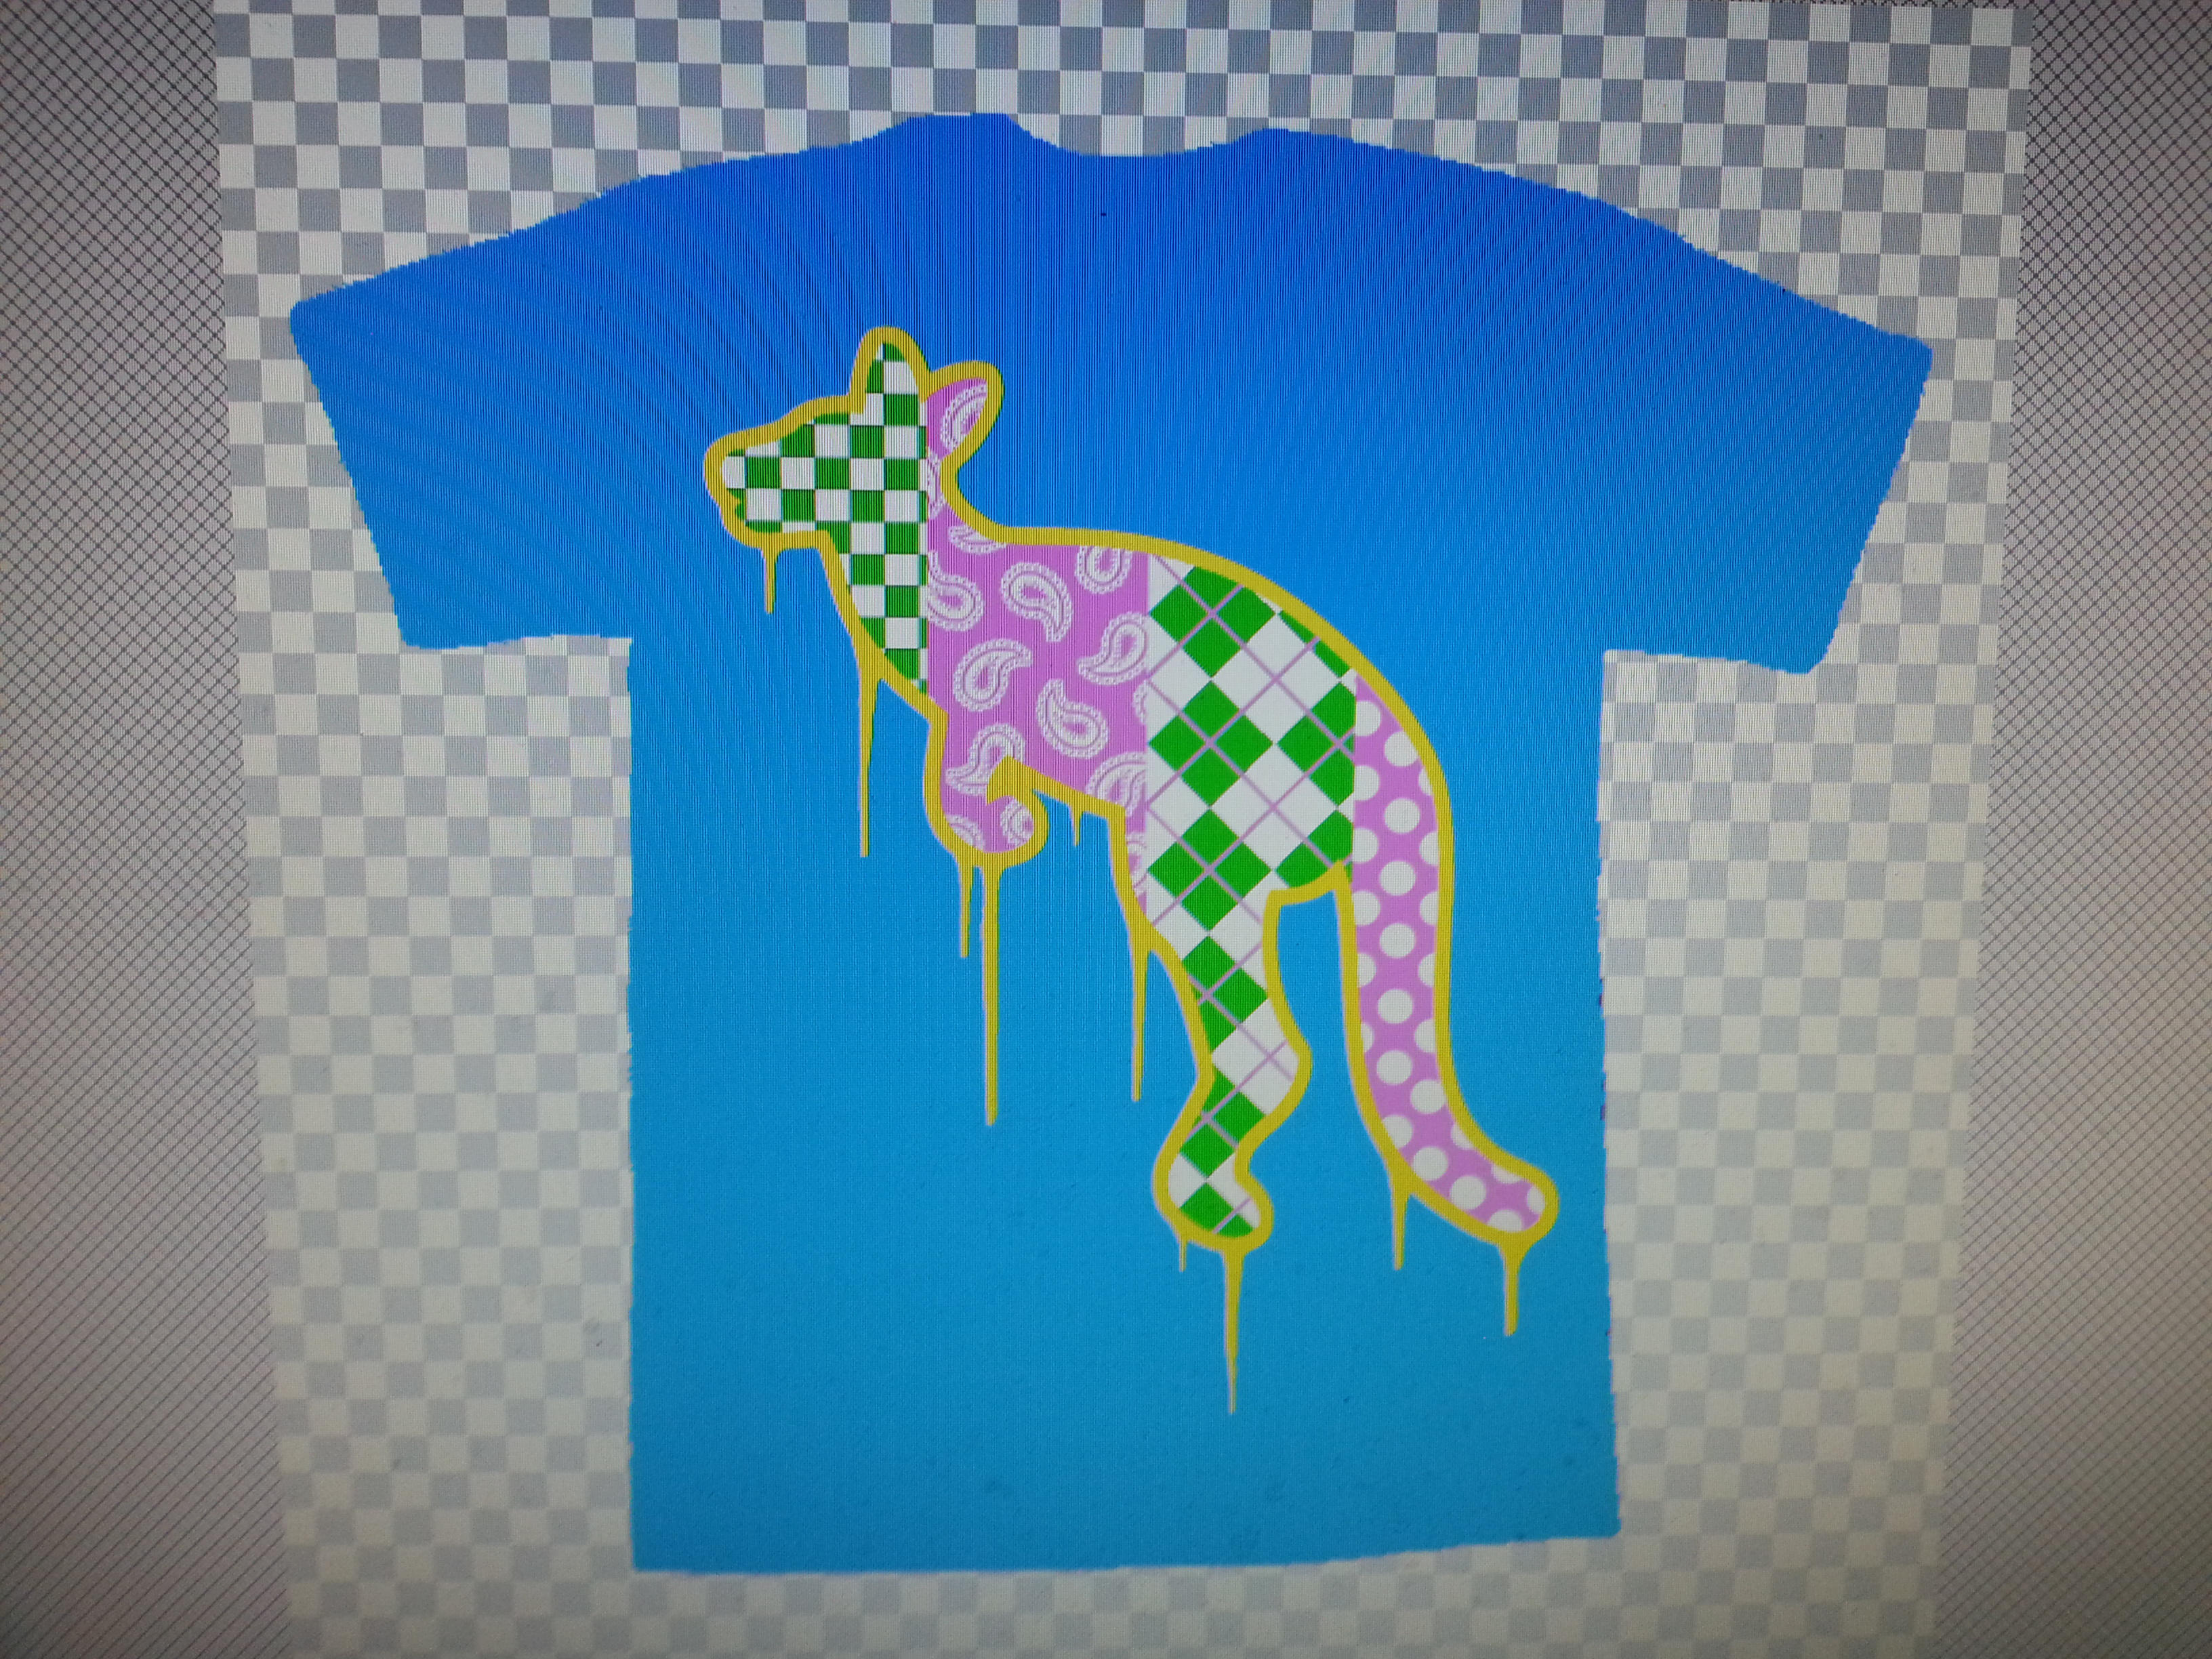
For Patterns, I used vector shapes to create the polka dot and checkers patterns quite easily. The argyle pattern was created by layering various vector rectangles. The paisleys were part of the previously created Sotare webding font, the one used in the making of A New Beginning. All of these elements are able to scale without losing quality.
The paint drips are actually a raster layer. Initially these were created with the paintbrush tool. When the design was enlarged, they became pixilated. To fix this I cleaned them up with the eraser tool.
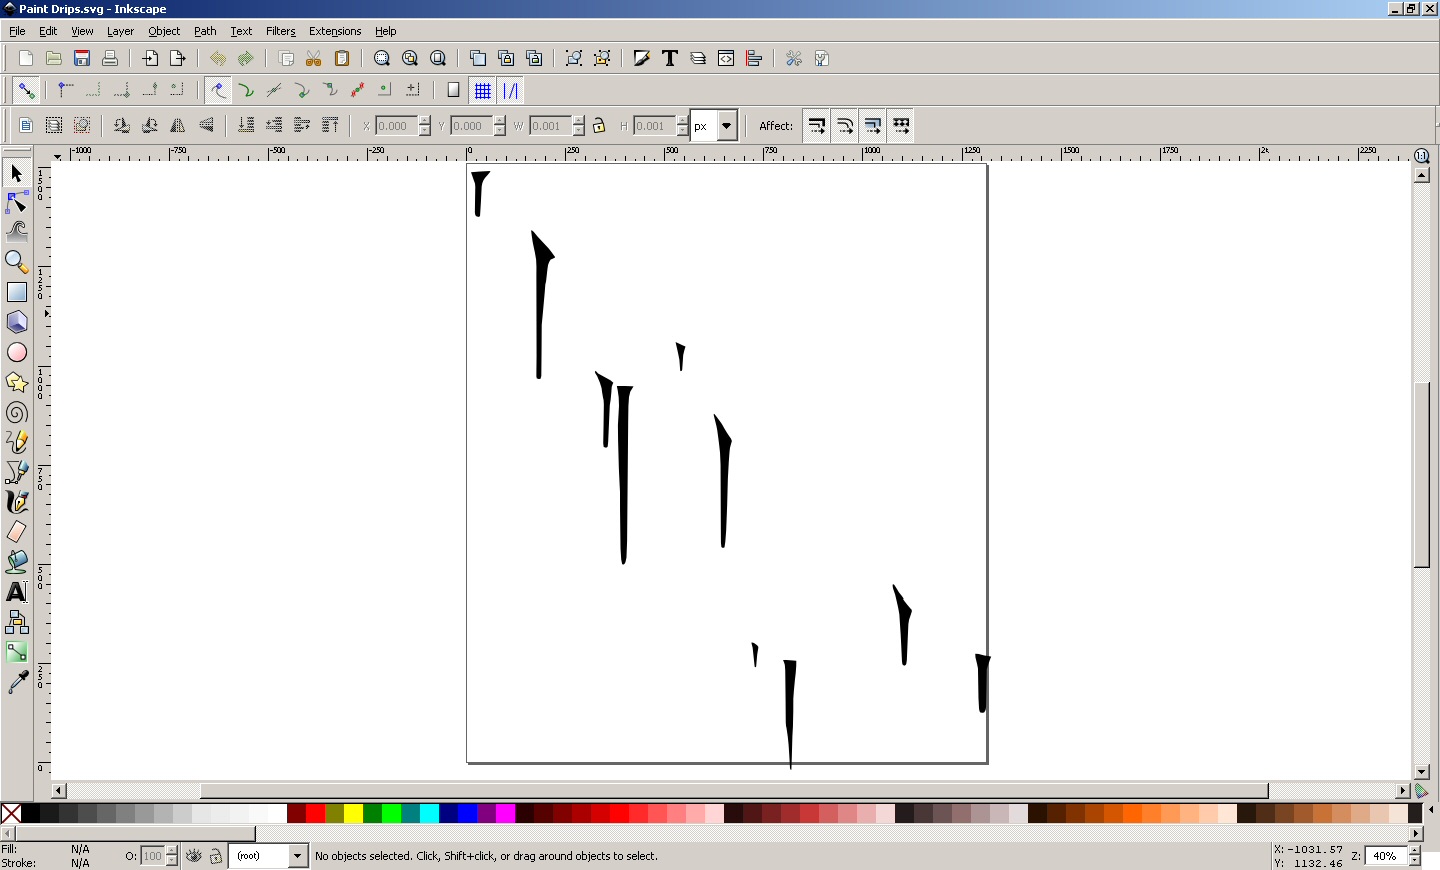
Next, the paint drips were brought into Inkscape. Here I created a scalable vector graphic of the drips and exported them at the correct scale for the shirt.
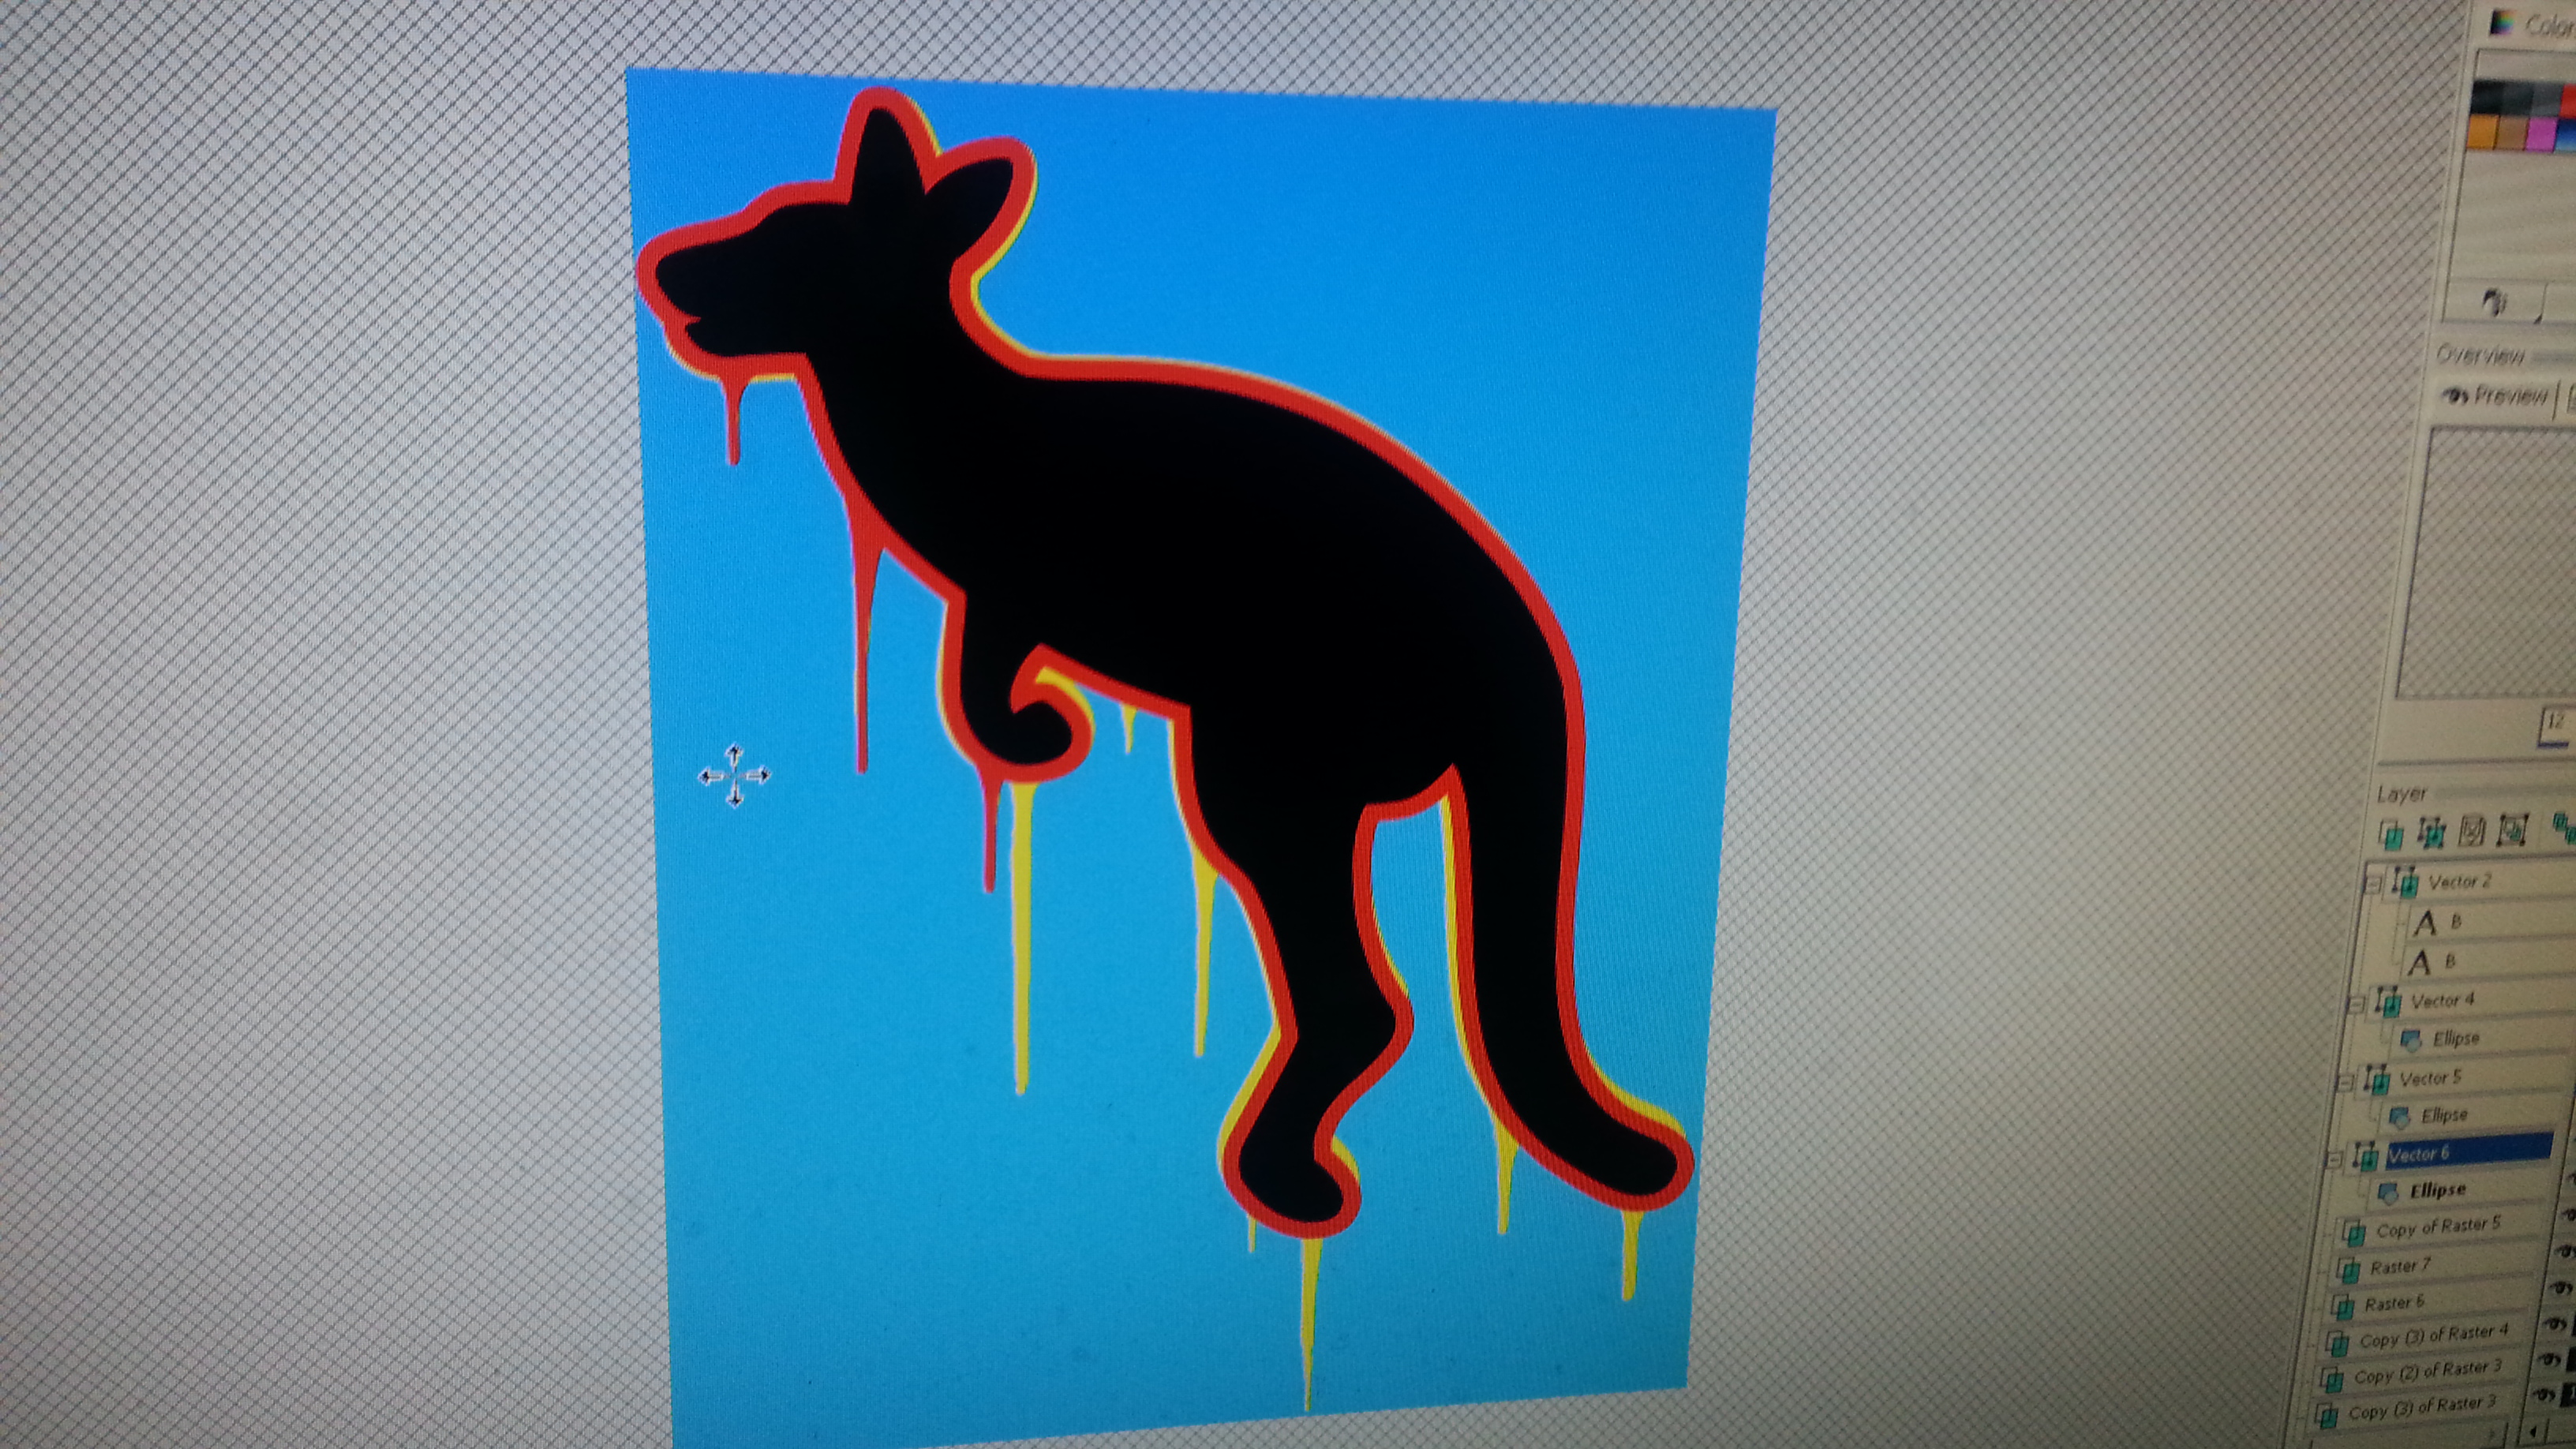
Once the whole design was recreated to full scale, the image was flattened and the selector tool was used to separate each color to individual layers. Then it’s just a matter of emailing the file to my printer and waiting a few weeks for the shirts to arrive.
After the shirts are printed, there are still a few things that need to be done to make them ready for sale. Although most of the tag is removed by the printing company, I still take tweezers and remove the rest of the tag completely. Then the hem tag must be sewn on to each shirt. Lastly, they are folded, put in a poly bag, shelved, and await shipping!
If you have any questions about the design process, or just a question about graphic design in general, email me or leave your question in the comments section!
Thanks,
Adrian Black